If you’ve opted in to the Snow Removal skill and there’s too much snow to shovel, snow blowing is your next option. Snowblowers can be used to clear driveways, sidewalks, or even pathways through clients’ yards to areas they want winter access to.
As with plowing, however, snow blowing comes with a learning curve. Whether you’re trying to clear wet, heavy snow or running out of gas midway through a task, there are special strategies to consider. If you plan to travel with a snowblower, you’ll also need a vehicle to haul it and a ramp to roll it onboard.
Scoping
As with plowing, scoping is an important part of a snowblowing task. Elite Taskers say to consider asking clients to clear their driveways and walkways of any debris beforehand. This can include anything from large rocks to holiday-light cords to unclaimed newspapers. You don’t want any of these items to get stuck inside the snowblower!
If clients can send you photos prior to a snowfall of all areas that will need clearing, all the better. This will help you gauge driveway and walkway boundaries and avoid unforeseen obstacles.
Finally, it can help to ask your clients the following questions:
- Do they own a well-maintained snowblower you can use?
- If so, how will you be able to access the snowblower?
- Do they have fresh gas (ideally a winter blend), or should you bring enough for backup?
- If the blizzard is heavy, should you plan on returning for multiple snowblowing passes?
These are all questions that can be answered ahead of time to make sure both you and your client are ready for the task.
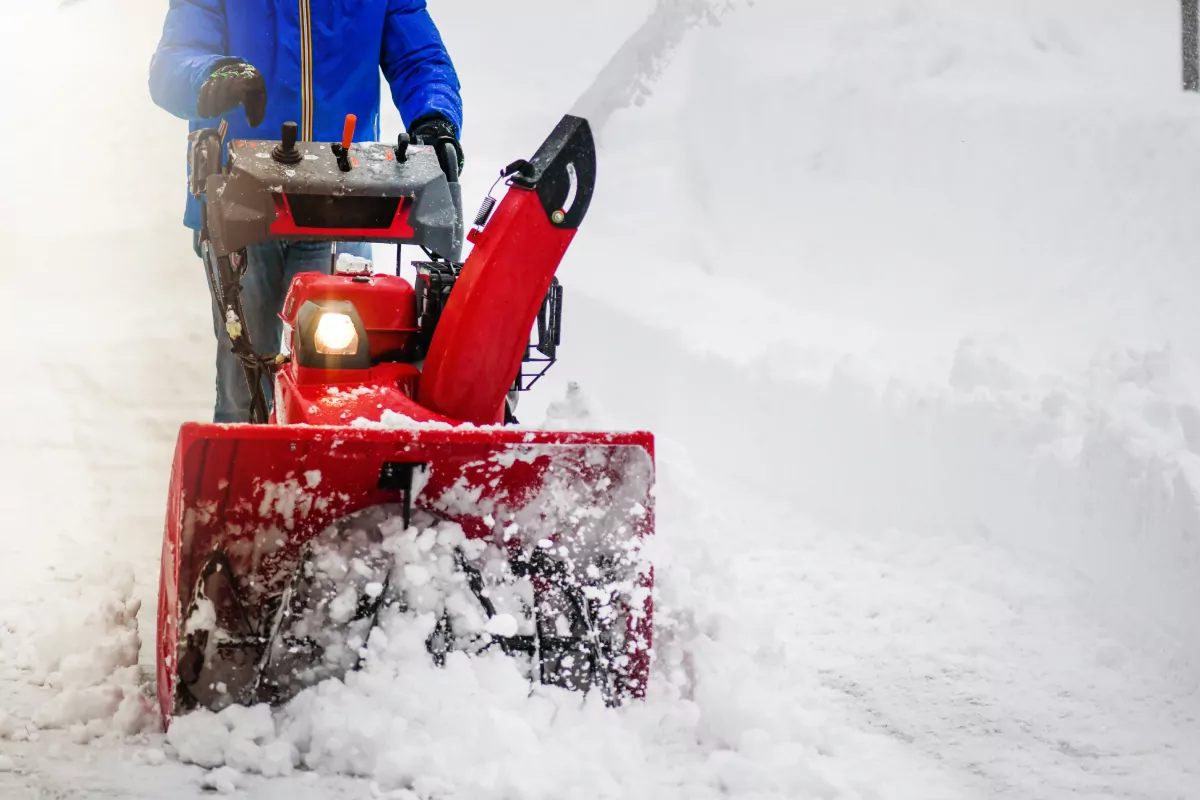
Safely Operating a Snowblower
In some ways, a snowblower is like a gas-powered lawn mower—but for snow. It uses a large, coiled blade to pull snow into a rotating chute, which can throw the snow 20-30 feet in any direction you choose. Family Handyman has some great tips for making sure you effectively—and safely—operate a snowblower.
Use fresh gas. Stale gas is the #1 cause of hard starting, which can be dangerous in extreme cases. Consider using a fresh winter gas blend, which makes starting both safer and easier.
Use fuel stabilizer. This solution provides a protective layer for fuel in a gas tank. You can even add it in the gas can at the gas station so it’ll mix properly on the way to your task.
Cool your snowblower before refilling the gas tank. Snowblower engines run very hot. If you run out of gas midway through your task, let the engine cool before adding more gas. Doing so will help prevent explosions, property damage, or severe injury.
Consider synthetic fuel. This can make starting the snowblower easier when you pull the cord to start it. Traditional oil may thicken in the cold, which can prevent the engine from reaching the 400 rpms necessary for starting.
Never clear clogs with your hand. This is a leading cause of snowblower-related injuries. Whether your machine is clogged by wet snow, ice, or yard debris, it’s always best to try clearing it with a broom handle first. If this doesn’t work, bring it to a repair center.
Perform maintenance beforehand. Consider replacing the spark plug, changing the oil, and checking the condition of the belts before your busy season starts. You can also sand down any rusted areas, repaint them, and finish them with high-quality polymeric car wax. Waxing the chute interior can also help prevent clogs. Finally, make sure that the auger hasn’t rusted to the drive shaft, as this can lead to major damage. Check out more tips here.
Snowblower Access & Transportation
If your client doesn’t own a snowblower, you’ll likely want to transport your own snowblower. While this may require owning a pickup truck, it can be a great way to combine snowblowing with plowing, as a snowblower may be necessary regardless to clear your client’s sidewalks and walkways.
Of course, you can always shovel—see the previous post—but in heavy snow areas, shoveling is usually reserved for areas a plow or snowblower can’t reach.
Snowblowing Strategy
According to our top Taskers, you don’t want to snowblow aimlessly. Starting at the wrong spot or blowing snow in the wrong direction can result in inefficiency and doubling up on your work. Here are some tips we’ve gathered that can help:
1. Don’t always wait until it stops snowing.
Big storms may require more than one snowblowing pass. Assuming you have agreed on multiple passes with your client, consider starting your task after 5-6 inches have accumulated. Repeat as needed over the course of the storm. This can help prevent snowblower clogs and damage while saving you hours in the long run.
2. Start in the center, and work from the inside out.
If you have a long driveway or wide area you’re snowblowing, it can help whenever possible to bisect the area down the middle, blowing the snow as far as you can to the side that will allow for the most manageable pile. Once you have cleared a strip down the center, go back down the sides separately, working closer and closer to the edge with each pass.
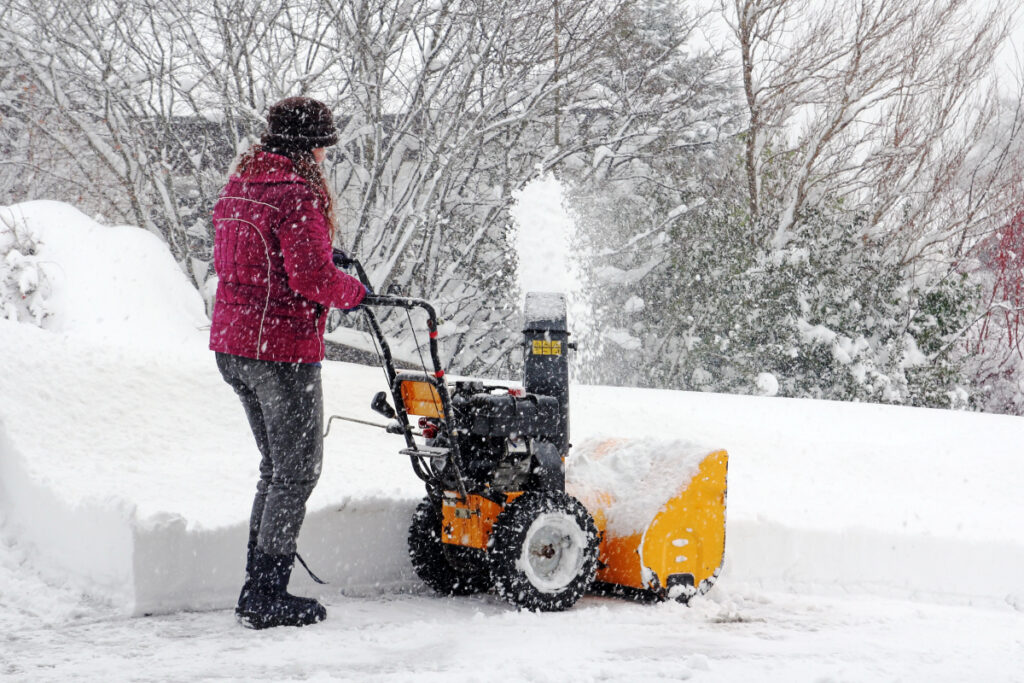
3. Blow the snow far.
It helps to blow the snow as far as you can into designated piling areas. Aiming your chute at a 45-degree angle is a general rule of thumb.
As winter progresses, however, snow piles usually get higher and higher. This may require you to raise the chute angle, which can result in a shorter blowing distance. This is why planning ahead—even during the first snowfall of the year—can help you longer term.
4. Blow with the wind.
Sometimes, you’ll be blowing snow in heavy winds. When figuring out your starting point and strategy, consider the strength and direction of the wind. If you blow the snow into the wind, it can blow right back to where it was, necessitating multiple passes. If you’re not careful, the snow can also blow back into your face—never a pleasant sensation.
If you’re having trouble blowing snow far enough to reach your intended piling area, consider finding another spot that will let you aim the snow with the wind.
5. Tackle small chunks at a time.
A snowblower has a wide spiraling blade that lets you slowly eat up snow in your path, but that doesn’t mean it’s always sensible to max out how much snow you can gather. Tackling too much at once can clog the blower or cause snow overflow onto areas you’ve already cleared. Most manufacturers recommend taking ⅓ to ½ the width of your snowblower at a time.
6. Consider shoveling first, then blowing the piles.
Snowblowers can help you clear snow fast, but there may be times when it’s actually faster to shovel snow into piles or banks and then using the blower for a final cleanup run. This can be helpful when snowfall is light and in the 1-3 inch range.
7. Don’t forget the salt. As always, spreading salt over the areas you snowblow is a great way to level up your services. Salt will melt any remaining snow and ice, which can be a safety hazard for your client.
Snowblowing is a normal part of life in areas affected by heavy snow. By adding it to your Skills & Experience, you can keep your Snow Removal business comprehensive and competitive.
If you’ve mastered shoveling, scraping, and snowblowing and want to up your Snow Removal skills even more, check out our next post, Snow Removal 104: Before You Plow.