Learning how to apply wallpaper is one way to level up your business and help your clients transform their space! This article is an overview from top Taskers of the different types of wallpaper and what skills and tools you can expect to use to get started.
Scoping a wallpaper task:
Consider these questions as you scope a wallpapering task with your client.
- What type of wallpaper are you looking to get hung? (pasted, unpasted, peel-and-stick)
- Determine if the walls will need to be primed; find out the finish of the walls that will be wallpapered
- Wallpaper works best on smooth walls. Eggshell or glossy paint is harder for wallpaper to stick to. If your wall has texture, you may need to use a wallpaper primer to smooth it out.
- Will you need wallpaper applied in one room or multiple rooms? Accent wall or full coverage?
- Have you already taken measurements? (Taking into account windows, unique angles, or built-ins) or do you need help to do so?
- Have you already purchased wallpaper?
- Determine if it’s the right amount or if more will be needed (the wallpaper rolls will say how many square feet each roll covers.)
- Is the wallpaper is mural style that needs to be applied in a certain order?
Prep work for all wallpaper types includes:
- Fixing imperfections i.e. holes, bumps, or cracks
- Removing any previous wallpaper
- Cleaning walls, wait at least 24 hours to dry
- Priming if needed
- Turning off power
- Removing outlet covers
- Clearing area of furniture, wall hangings, curtains, etc.
- Creating a clear, clean work area–consider taping cardboard or tarp to the floor
- Measuring the length and width of the wallpaper rolls, and making marks on the wall to figure out the total square feet for which you’ll need coverage
- Using a level to measure and marking the wall according to the length (called a “plum line”) and width of the paper to ensure each piece gets applied straight
- Aligning the pattern as you go (you can use painter’s tape to mark where the pattern will connect across sheets)
- Adding 4” to length when measuring the wallpaper to cut
- Removing excess wallpaper with a utility knife once you’ve reached the top/bottom of the wall
- Trimming around outlets and replacing outlet covers
- Cleaning up
Tools & supplies include:
- Ladder/step ladder
- Laser level (nice to have, to ensure you’re hanging along straight lines)
- Utility knife/sharp blade for trimming
- Smoothing or roller tool
- Painters tape
- Wallpaper primer
- Wallpaper paste
- Drop cloth to protect floor/rug
- Spray bottle (pasted wallpaper)
- Damp cloth to smooth cut edges (pasted wallpaper)
Wallpaper Types Overview
Unpasted Wallpaper
Hanging unpasted wallpaper is a big undertaking! Risks of unpasted wallpaper application include not gauging the right amount of paste to use, and it being a messy and time consuming process. But this type of wallpaper is also the longest lasting.
In addition to general prep, application involves:
- Prepping strips for paste by laying them out on a surface that can get messy
- Applying paste on the top half of the back of the strip and gently fold (don’t bend), and repeating for the lower half to ensure consistent adhesion across the entire surface
- Waiting for the water and glue to “book”–soak into the paper–according to the suggested time for your specific wallpaper
- Sticking the top half of the strip along your measured line on the wall, and smoothing out bubbles
- Making sure you overlap onto adjacent wall when applying to a corner, to make sure you have enough paper for a clean corner
- Repeating for the lower half
- Trimming excess
- Removing excess glue
Pre-Pasted Wallpaper
Pre-pasted wallpaper comes with adhesive but it needs to be activated with water. Be careful to not use too much water on the paste, which can make the paper too damp or weaken the glue.
In addition to general prep, application involves:
- Using a spray bottle to activate the adhesive
- Folding the strip in half so the sides with paste touch, which activates the glue and ensures consistent adhesion across the entire surface
- Removing excess glue once hung with a damp cloth
Peel and Stick Wallpaper
While peel and stick wallpaper has become popular, it’s still a pretty big project–especially for larger walls or walls with windows, doors, or other challenging dimensions to measure. Peel and stick wallpaper doesn’t stick as well to walls with a matte finish. But peel and stick wallpaper is the most forgiving–and starting with peel and stick is a good way to upskill into hanging pasted and unpasted wallpaper.
In addition to general prep, application involves:
- From top to bottom, peeling off the backing and apply slowly and carefully, smoothing bubbles as you go as well as after you’ve applied
- Overlapping the top and bottom edges and plan to trim excess
- Smoothing the entire surface and plan to re-apply if there are air pockets (you can use your hand but best to use a wallpaper smoothing tool
To learn more about hanging wallpaper, we suggest:
- Viewing YouTube to see how the different wallpaper types are applied
- Practicing at your own home
- Shadowing a friend who knows how to hang wallpaper for in-person training.
For additional information and inspiration to add hanging wallpaper to your skillset, see our other articles on this topic:
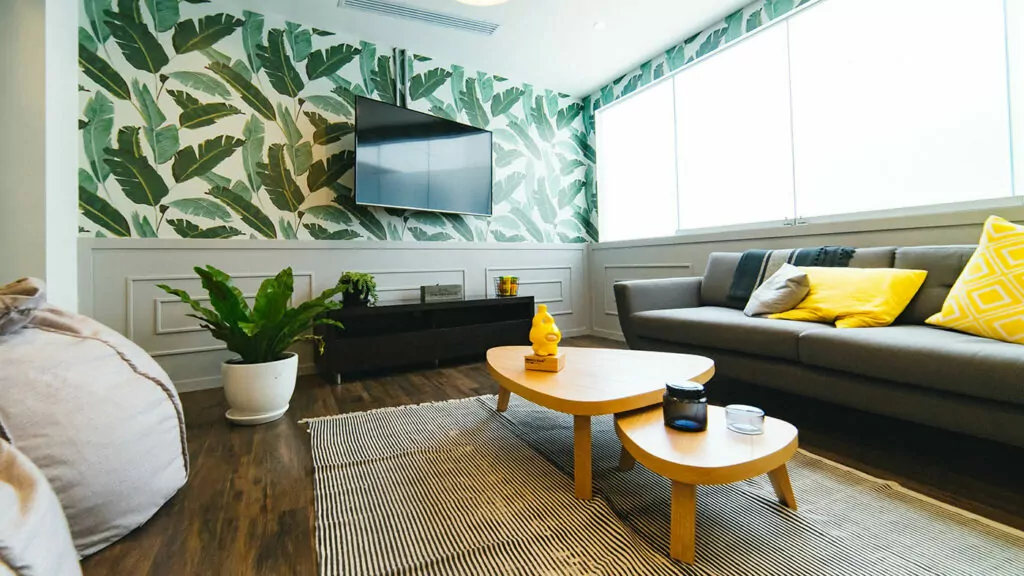
- How Taskers Use Paint & Wallpaper to Make Spaces Beautiful
- Home Improvements 106: Walls & Wallpapering